Emily’s Story
I wanted to do a boudoir shoot because I have always admired women who could feel comfortable in their own skin. To let go of their insecurities and love their bodies. Now in my late thirties I felt like it was as good a time as any to show myself that I am a strong sexy woman.
I was nervous but excited leading up to the shoot. It was a reason not to miss my gym classes. It was only on the actual day that I had the photo shoot that I started to get nervous.
As soon as I walked through the door Leigh and Zena were so inviting and completely put me and my insecurities at ease. We discussed what scenes I wanted and how best to achieve them. From then I was whisked upstairs for my hair and make up which was incredible. The transformation was amazing and it gave me the confidence that I needed for the shoot. Leigh was great at directing me and within no time the shoot was well underway and I felt confident to bare more with every pose. As Leigh and Zena showed me the images as we worked though the shoot I couldn’t believe that the woman in the photos was me. Although the shoot was around 2-3 hours it went by in a flash. Before I knew it we were finished and I felt like a new woman. Zena and Leigh had shown me how beautiful my body was and I suddenly found a new sense of love for my skin.
On the way home after the shoot I couldn’t stop smiling. I couldn’t believe that I had spent all these years wishing for another body not realising that the body I have was so sexy! My partner and I couldn’t stop talking about my new found confidence in the shoot. I was completely fearless and it was the most exhilarating experience.
I can’t thank Zena and Leigh enough for making me realise I am a strong, confident and most of all sexy woman. I can’t recommend Mighty Aphrodite enough!
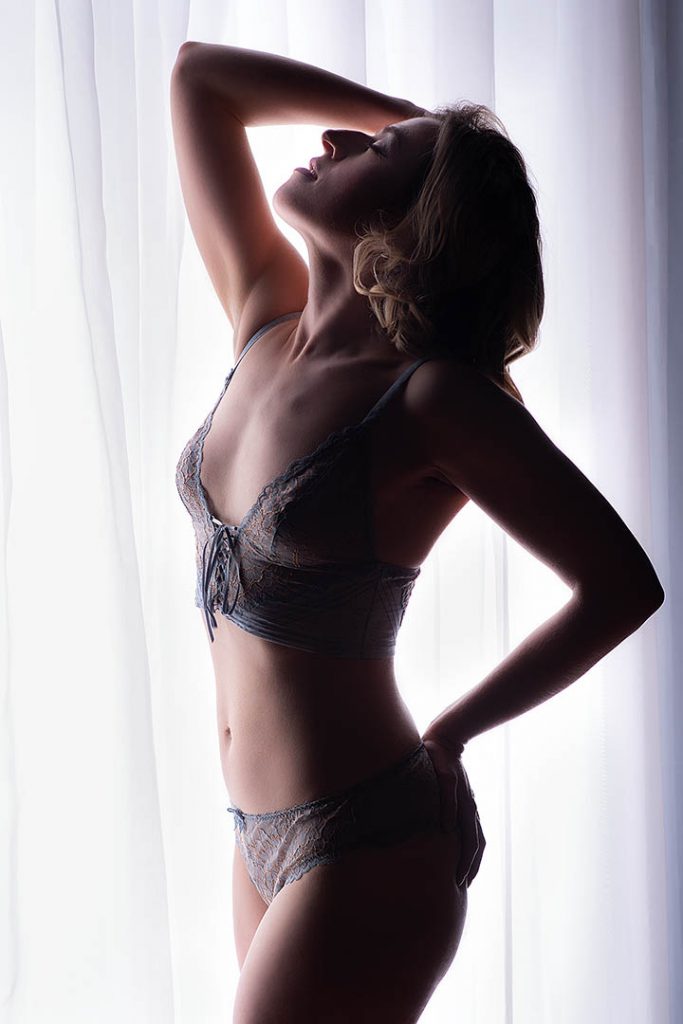
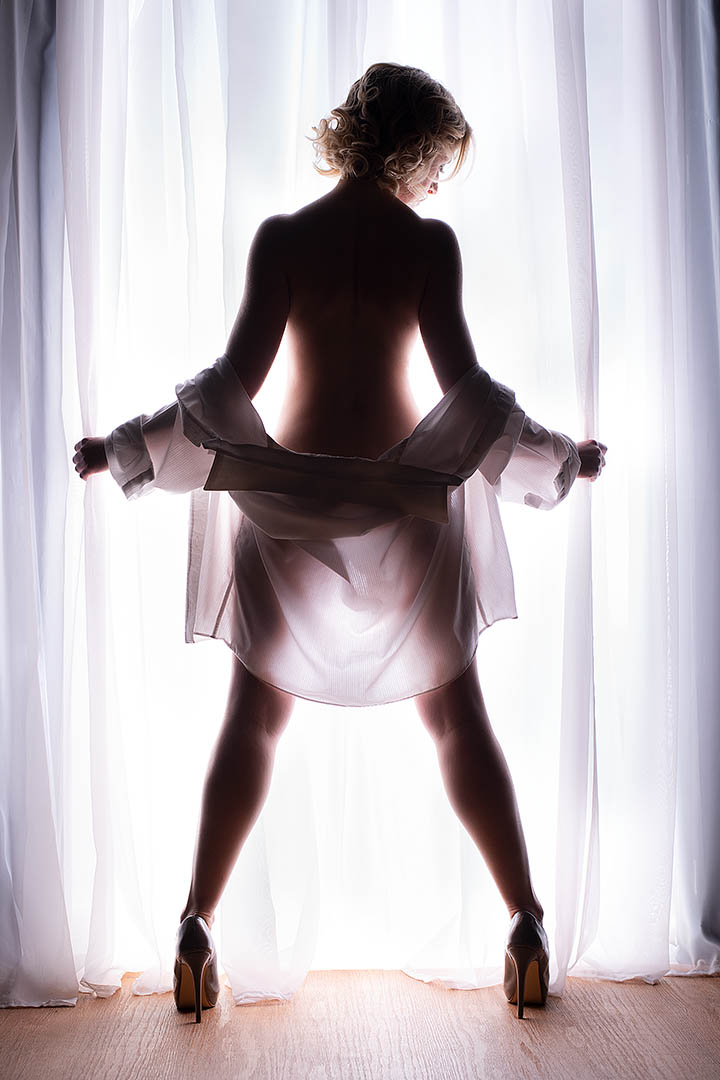
storyemily01
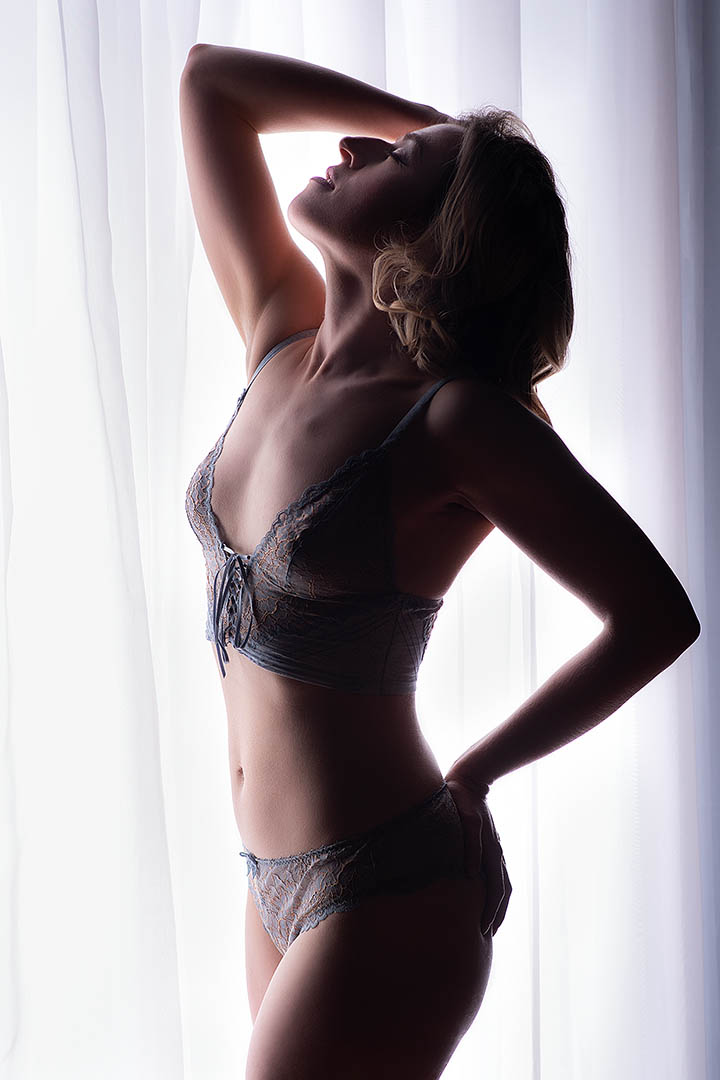
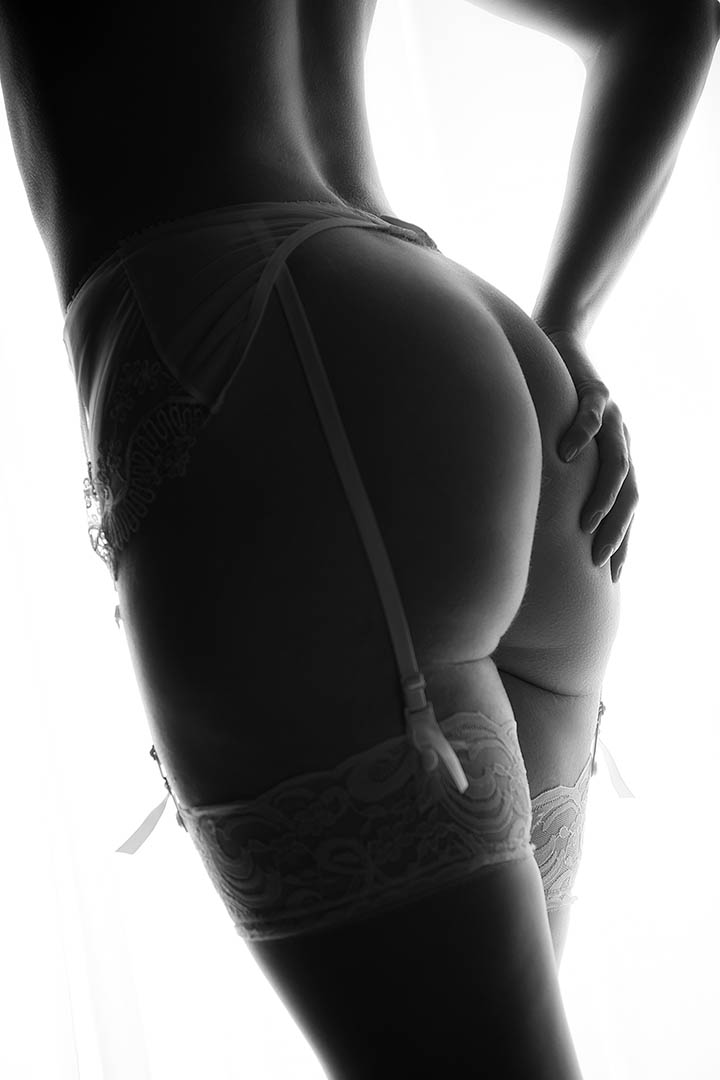
storyemily02
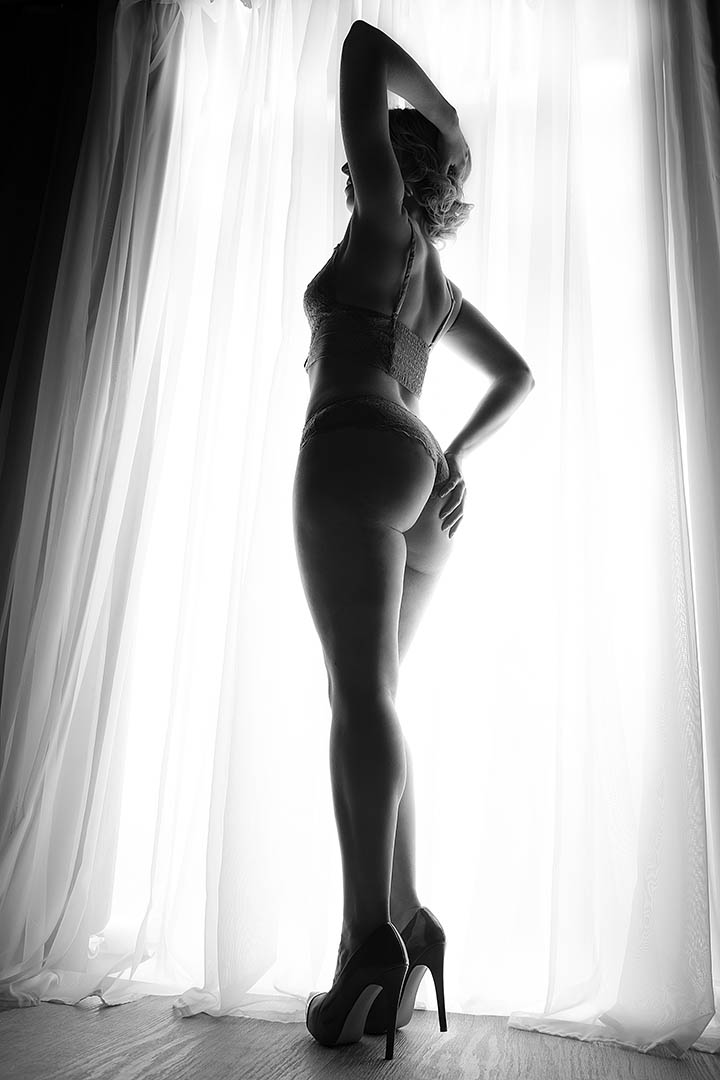
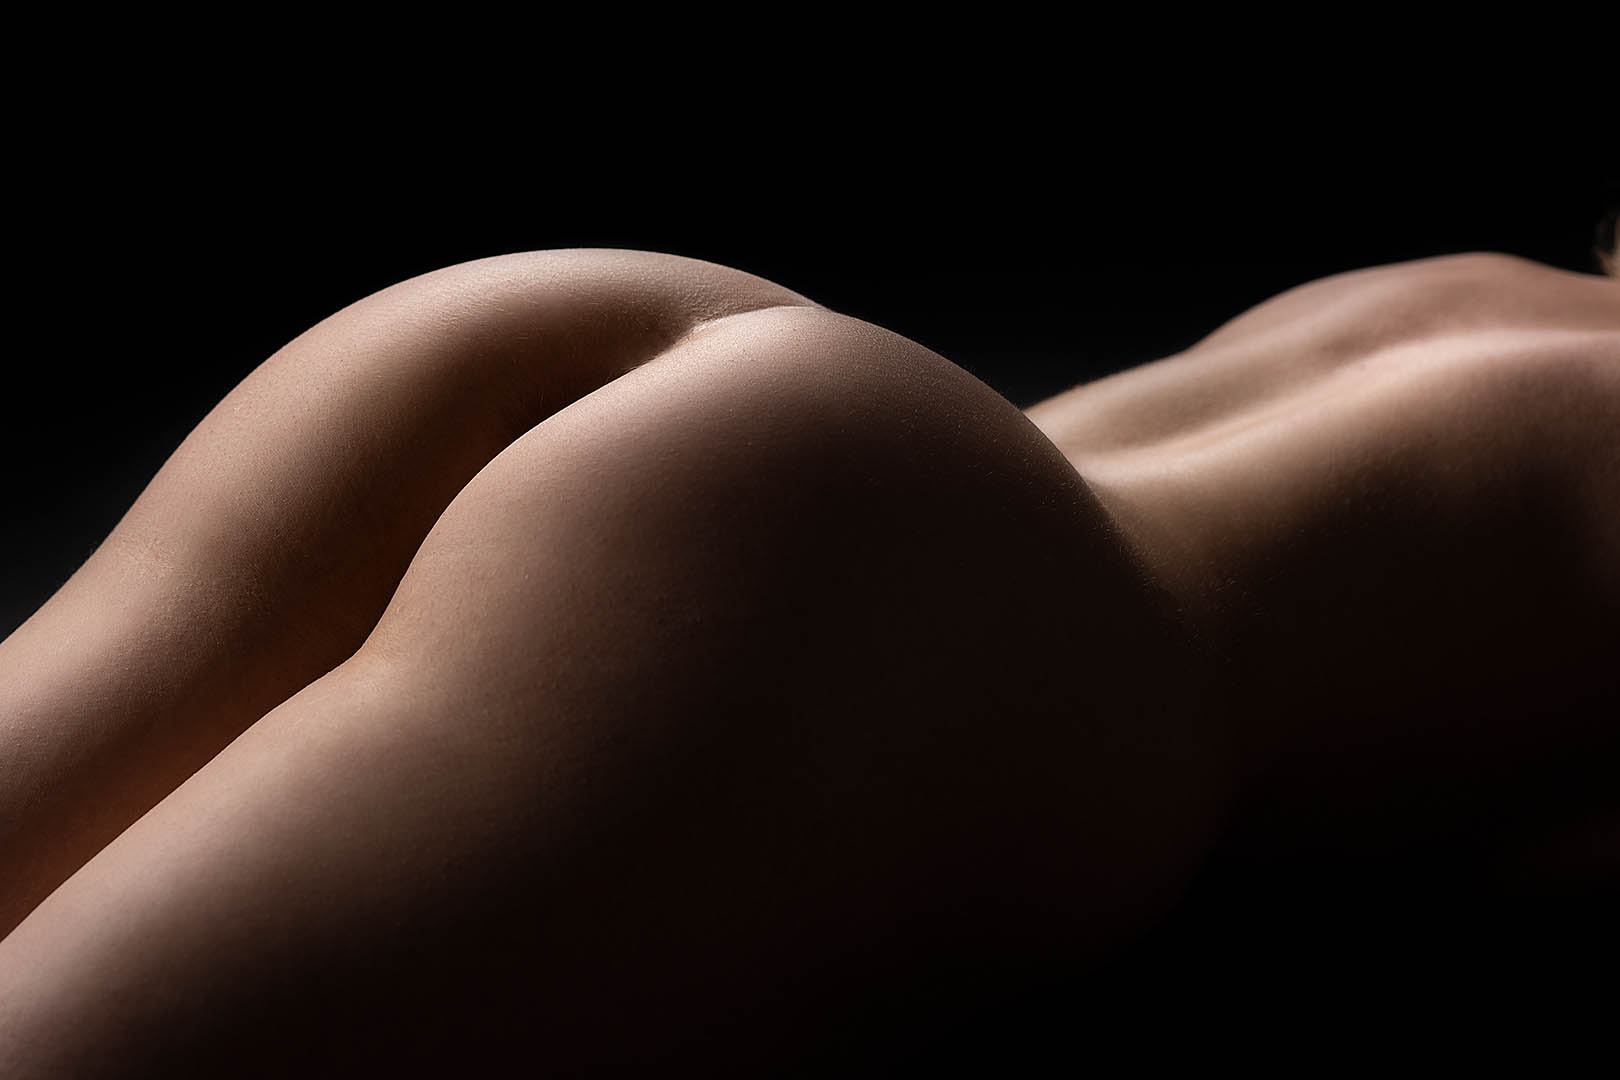
storyemily03
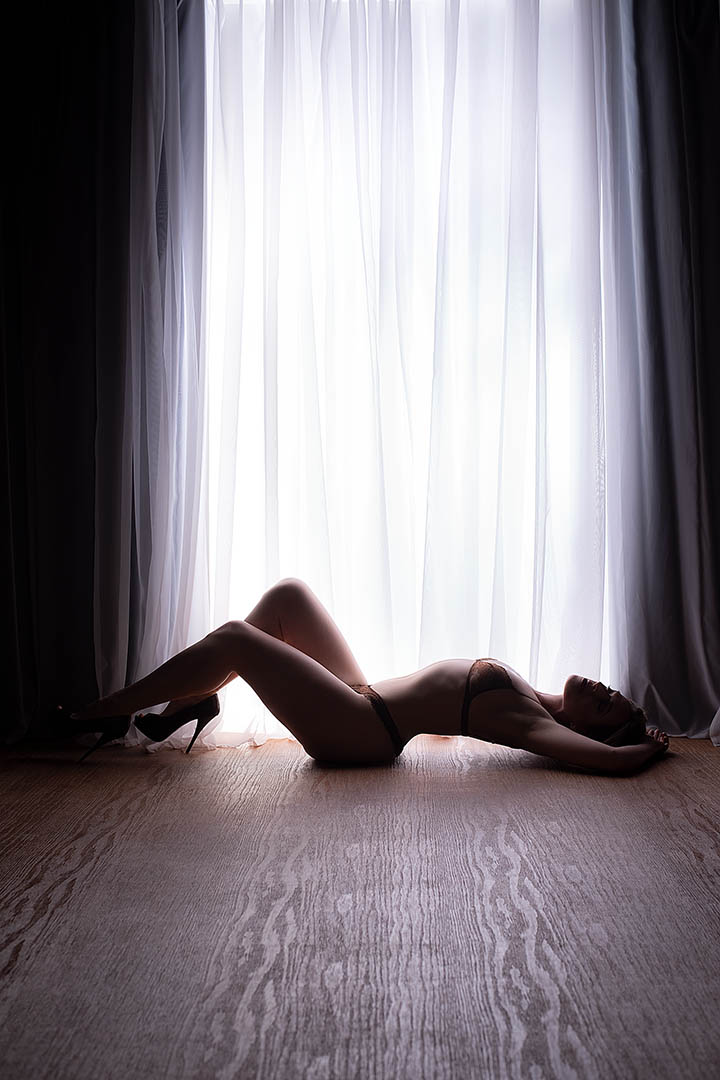
storyemily04
storyemily05
storyemily06
 For the real WOW factor! A truly luxurious 14×10″ leather-bound book with your 30 retouched images printed directly onto the pages. A sumptuous leather cover comes as standard and for even more impact you can upgrade to an aluminium cover printed with the image of your choice for £60.
 The stunning ArtBook is A4 in size and comes with 18 fully retouched images printed directly onto the thick pages. The creative layouts of your images within the ArtBook are what makes this such a special product.