Jo’s Story
I had been considering having some boudoir photos done for a while – just for myself being 47 and feeling in the best place in my life right now. It seemed like a now or never thing.
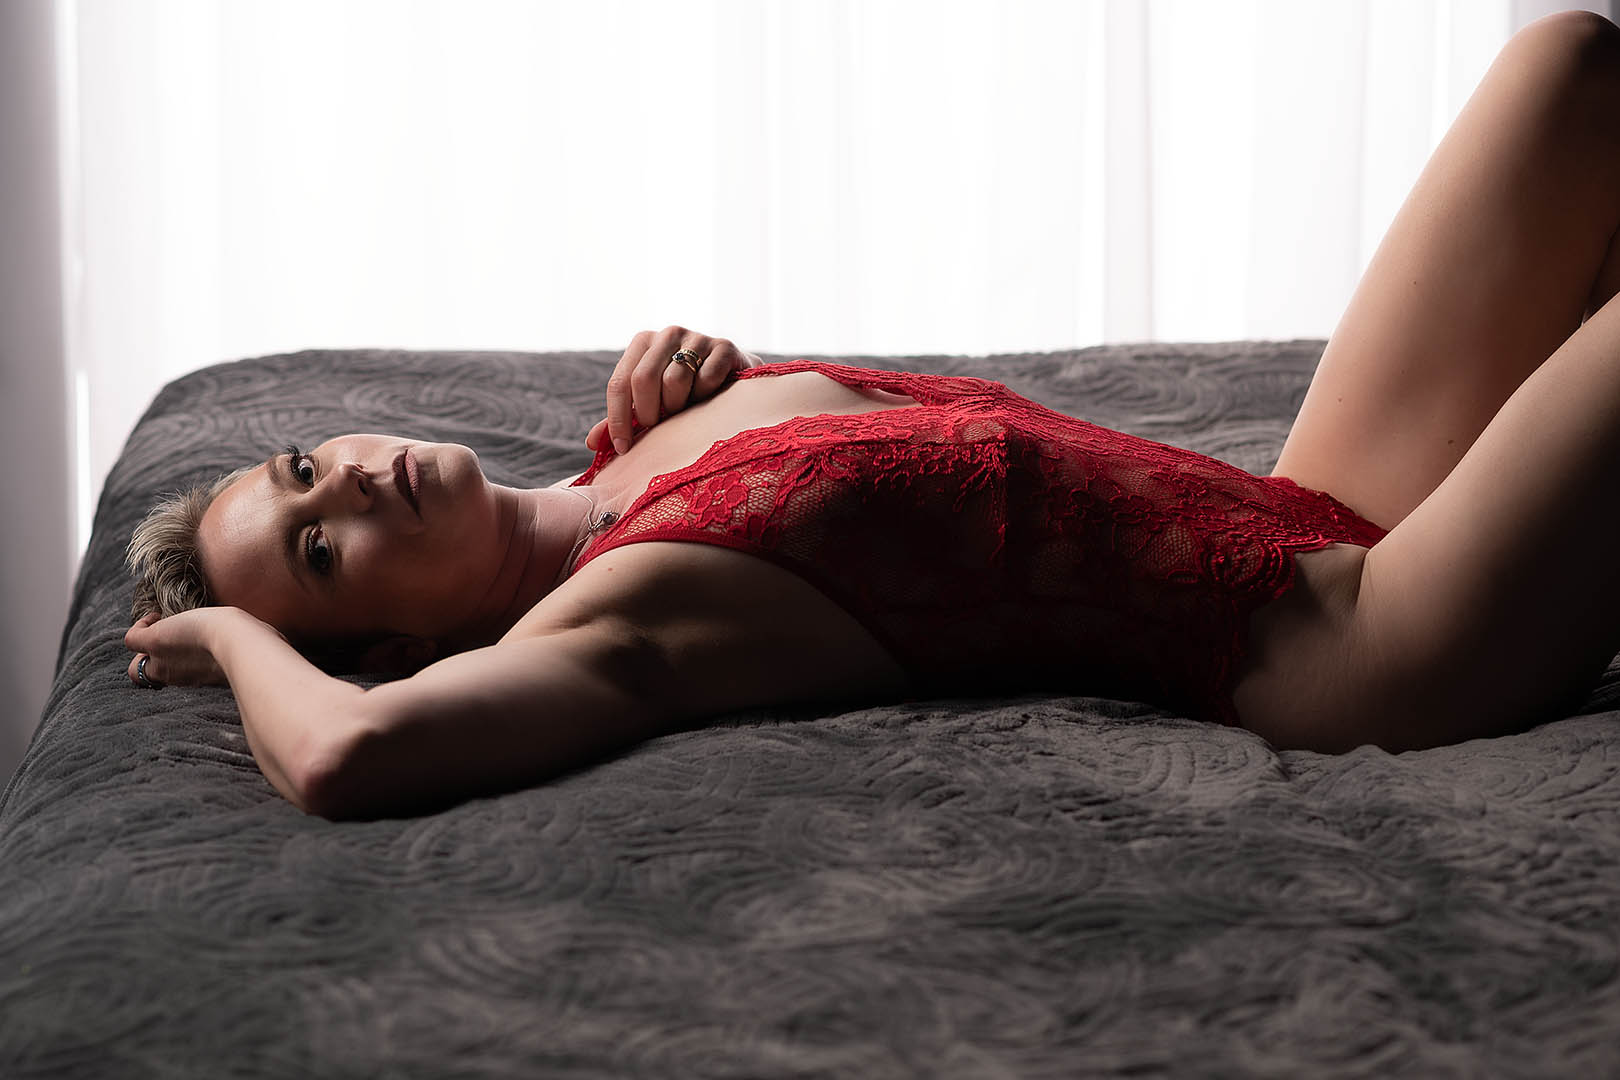
I had looked at quite a few different studios but I didn’t feel any of them were quite right. I eventually came across Mighty Aphrodite and realised I had found the studio that would be right for me. I originally hadn’t even thought about going completely naked but the photos looked stunning on the website so I thought I would give it a go.
I had my shoot early January and myself and my husband combined it with a stay in Red Kite Cottage, as we had travelled quite a way to get to Wales, and the cottage is wonderful.
Although I was very excited about having the photos taken I have to be honest and say I was slightly nervous when I realised the photographer was male but I definitely had nothing to be nervous about as Leigh was fantastic and both Leigh and Zena (and Ziggy the Dog) made me feel totally at ease.
I got fantastic directions on how to pose and I very soon had no issues in getting naked and having photos done that I originally had ruled out. I was shown the photos throughout and that helped boost my confidence and helped me relax even more.
If anyone is considering having photos done then I would say don’t hesitate, I had the best day. I had my makeup done too and Ness was lovely and did a great job. I absolutely love my photos and struggled to pick 18 out of 240 ( I ended up with 22!)
Anyone I have shown the photos to is amazed and so complimentary at how artistic they look. The whole process was easy, stress-free and just amazing. I can’t thank Leigh and Zena enough and can say I will be definitely be back for more. My husband has even said he may want some couples photos done.
image01
image03
image04
image05
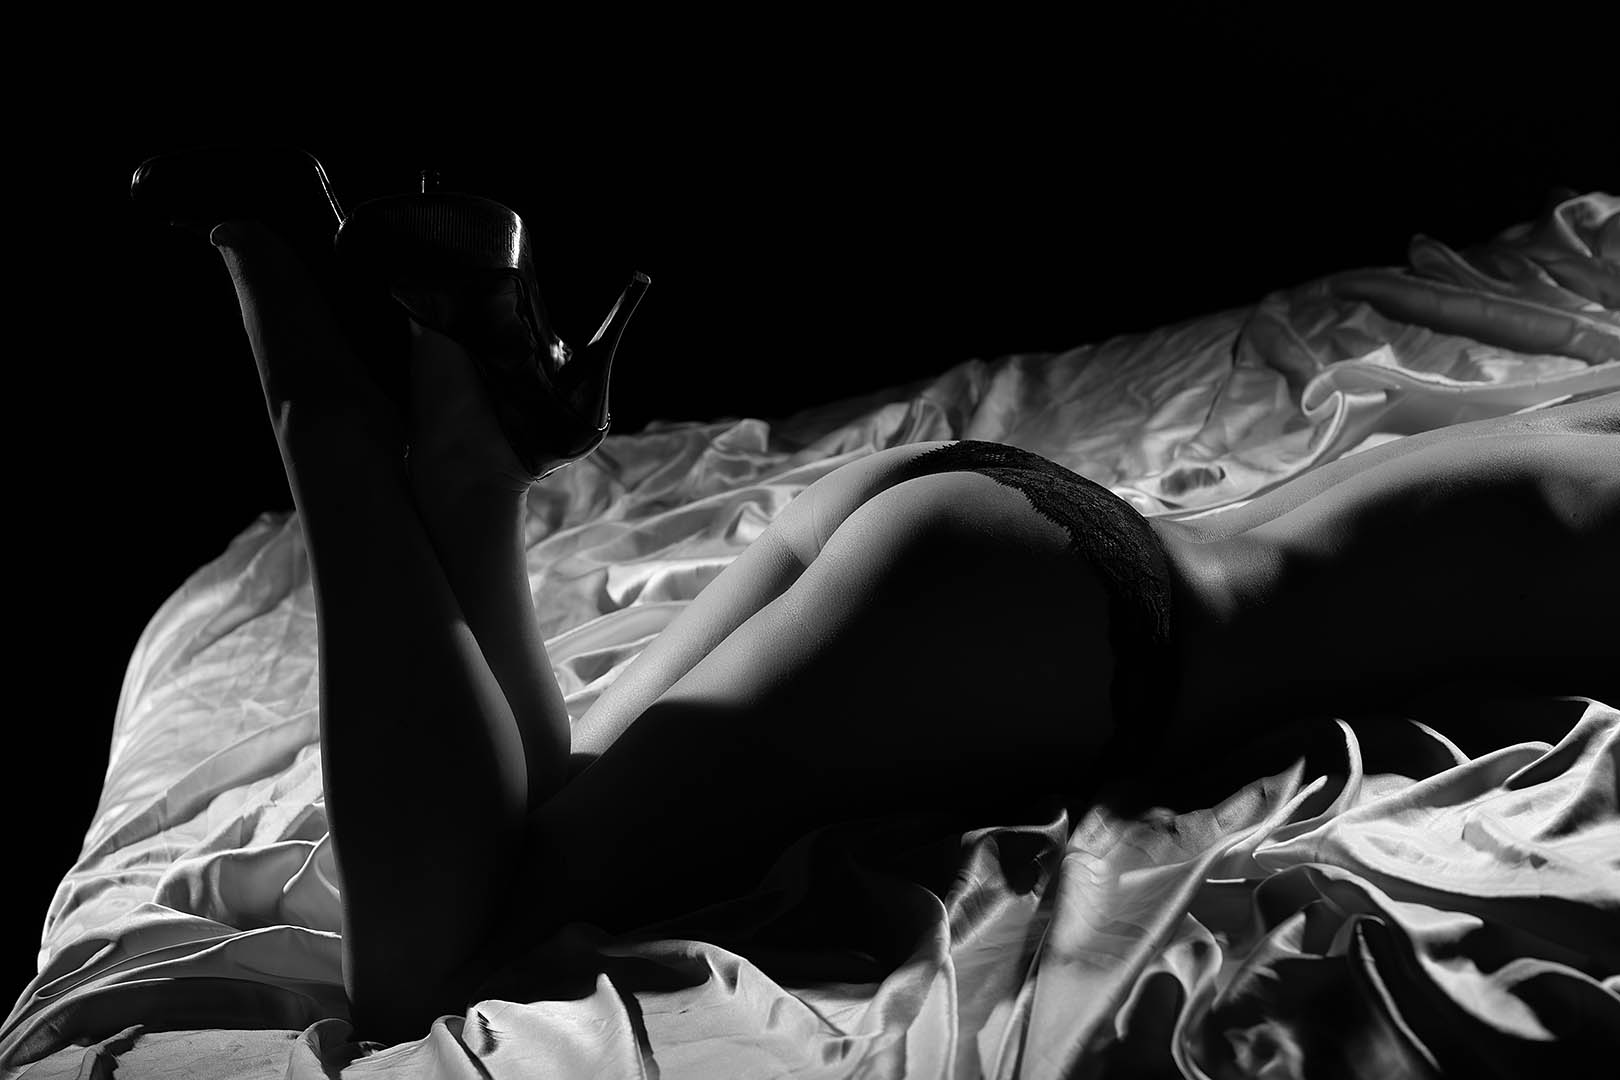
image06
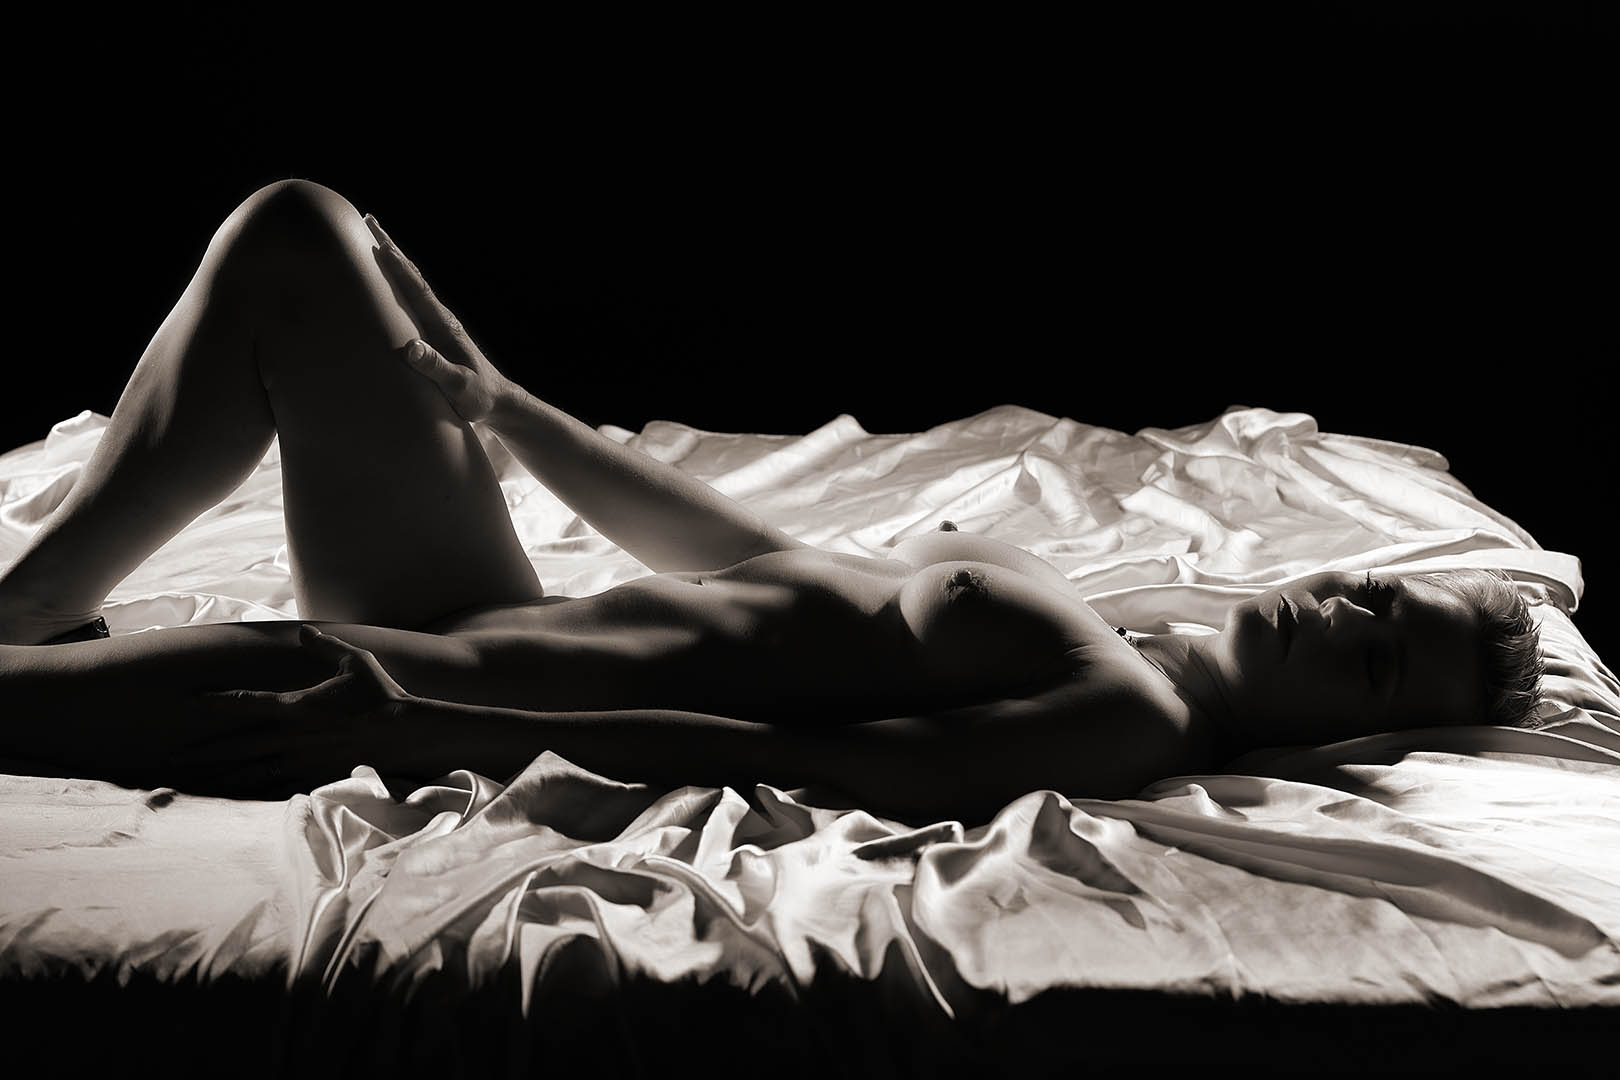
image07

image08
 For the real WOW factor! A truly luxurious 14×10″ leather-bound book with your 30 retouched images printed directly onto the pages. A sumptuous leather cover comes as standard and for even more impact you can upgrade to an aluminium cover printed with the image of your choice for £60.
 The stunning ArtBook is A4 in size and comes with 18 fully retouched images printed directly onto the thick pages. The creative layouts of your images within the ArtBook are what makes this such a special product.